2023. 9. 30. 18:36ㆍ[WEB]/[React-Spring] TeamHs
Quill은 Editor 라이브러리로 타 Editor에 비해 기능은 많이 없지만 가볍다는 장점이 있다.
🍃 사용 방법
1) Quill 설치
npm install react-quill
npm install quill-image-resize #이미지 리사이즈를 위한 설치
2) import
import useMemo from 'react';
import ReactQuill from 'react-quill'; //React QUill 에디터
import ImageResize from 'quill-image-resize'; //이미지 크기 조절
3) Formats 지정
 const formats = [
    'header',
    'font',
    'size',
    'bold',
    'italic',
    'underline',
    'strike',
    'align',
    'blockquote',
    'list',
    'bullet',
    'indent',
    'background',
    'color',
    'link',
    'image',
    'video',
    'width',
  ];
4) Module 추가
 const modules = useMemo(() => {
    // 이미지 리사이즈 모듈 추가.
    ReactQuill.Quill.register('modules/imageResize', ImageResize);

    return {
      toolbar: {
        container: [
          [{ header: [1, 2, 3, false] }],
          ['bold', 'italic', 'underline', 'strike'],
          ['blockquote'],
          [{ list: 'ordered' }, { list: 'bullet' }],
          [{ color: [] }, { background: [] }],
          [{ align: [] }],
          ['image', 'link', 'video'],
        ],
        handlers: {
          image: imageHandler, //파일을 url로 변형시켜주기 위해 handler를 추가해준다
        },
      },
      // 이미지 리사이즈 모듈을 사용합니다.
      imageResize: {},
    };
  }, []);
5) React Quill에 포맷과 모듈을 추가.
 <ReactQuill
      ref = {contentRef}
      value={content}
      onChange={handleContentChange}
      modules={modules}
      formats={formats}
      placeholder={'게시글을 작성해주세요!'}
      theme="snow"
    />
🍃 Trouble
1) module에 image Handler를 구현해주지 않고 그냥 이미지를 넣게되면 Base64의 형태로 파일이 들어가게 된다.
이는 매우 매우 매우 길기 때문에 서버에 넣을수가 없다.

이런 짧은 글이
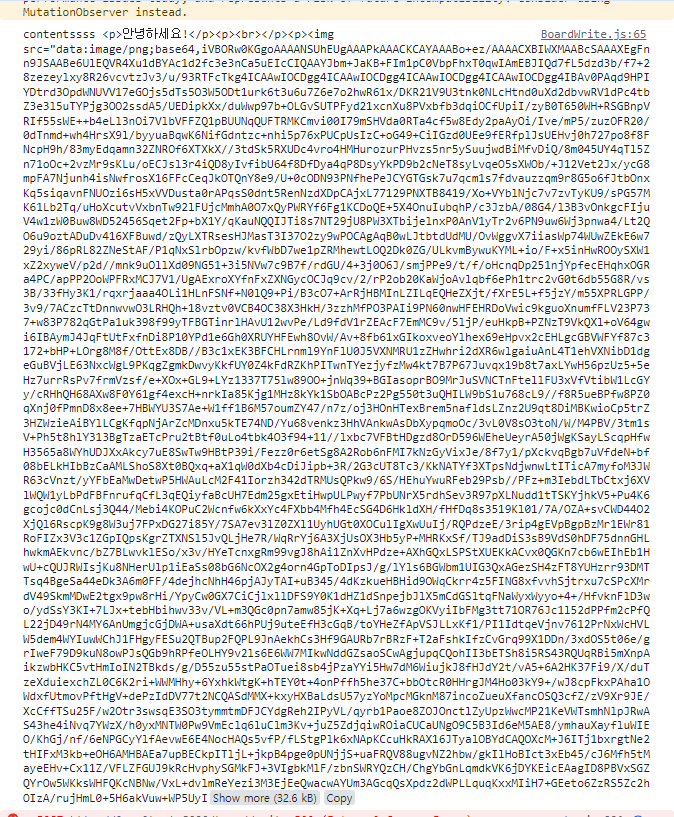
이렇게 길게 저장된다. 서버에 보내준다면 너무 긴 데이터가 된다.
따라서 우리는 base 64로 이루어진 파일을 백엔드단에 파일로 저장한 뒤 해당 파일을 url로 변형시켜줘야한다.
🍃 해결
😀 프론트 단
1) image Handler 추가
 const imageHandler = async () => {
      const input = document.createElement('input');
      input.setAttribute('type', 'file'); //타입은 파일
      input.setAttribute('accept', 'image/*'); //이미지 파일만 선택 가능
      input.click();

      input.addEventListener('change', async () => {
        const file = input.files[0];
        try {

    	  //이미지는 폼데이터로 전송
    	  const formData = new FormData();
          formData.append('image', file);

          // 서버로 이미지 업로드 요청을 보내고 이미지 URL을 받아옵니다.
          const response = await axios.post('http://localhost:8090/images/upload', formData);
          const imageUrl = response.data;


          // 에디터에 이미지를 삽입합니다. 이미지 URL을 절대 경로로 설정합니다.
          const editor = contentRef.current.getEditor();
          const range = editor.getSelection();
          editor.insertEmbed(range.index, 'image', `http://localhost:8090${imageUrl}`);
          editor.setSelection(range.index + 1);

        } catch (error) {
          console.error('Error uploading image:', error);
        }
      });
    };
그럼 이제 백엔드 단을 만질 차례이다.
여기서 작업을 하기 전에 먼저 해줘야 할 것이 있는데
서버에 이미지를 업로드하고 Url로 반환 후 해당 Url로 이미지를 불러오는 작업이다.
따라서 먼저 이미지가 저장될 주소를 먼저 지정해줘야한다.
😀 백엔드 단
1) application.properties
#이미지를 업로드 할 폴더의 주소
image.upload.directory=D:/imagestest/upload

#스프링 애플리케이션이 정적 리소스를 찾을 위치
spring.resources.static-locations=file:D:/imagestest/upload/

#파일 크기
spring.servlet.multipart.max-file-size=10MB
spring.servlet.multipart.max-request-size=10MB
2) ImageController
1. 업로드할 image 파일을 가져온다. imageService 단에서 Url로 변환시켜준 후 Url을 반환한다.
헤더를 설정해준 후 클라이언트에 Url 주소를 반환해준다.
2. getMemeType 함수
확장자를 추출하여 해당 확장자에맞는 MEME 타입을 반환해주는 함수이다.
3. 주소에 파일명을 get으로 불러오게 되면 해당 사진을 파일 시스템에서 읽어오게 된다.
(나는 D드라이브에 imagetest/upload에서 불러오기 때문에 주소를 저렇게 적어줬다.)
@RestController
@RequestMapping("/images/upload")
public class ImageController {

    @Autowired
    private ImageUploadService imageUploadService;

    @PostMapping
    public ResponseEntity<String> uploadImage(@RequestParam("image") MultipartFile image) {
        try {
            // 이미지 업로드 및 이미지 URL 반환
            String imageUrl = imageUploadService.uploadImage(image);

            //헤더 설정
            HttpHeaders headers = new HttpHeaders();
            headers.setContentType(getMimeType(image.getOriginalFilename()));

            return new ResponseEntity<>(imageUrl, headers, HttpStatus.OK);
        } catch (IOException e) {
            return ResponseEntity.status(HttpStatus.INTERNAL_SERVER_ERROR).build();
        }
    }

    @GetMapping("/{fileName:.+}")
    public ResponseEntity<FileSystemResource> getImage(@PathVariable String fileName) {
        // 로컬 파일 시스템에서 이미지 파일을 읽어옴
        FileSystemResource resource = new FileSystemResource("D:/imagestest/upload/" + fileName);

        // 이미지 파일을 ResponseEntity로 감싸서 반환
        return ResponseEntity
                .ok()
                .contentType(getMimeType(fileName)) // 이미지 타입에 따라 변경
                .body(resource);
    }

    // 파일 확장자에서 MIME 타입을 가져오는 함수
    private MediaType getMimeType(String fileName) {
        String extension = fileName.substring(fileName.lastIndexOf(".") + 1);

        // 이미지 확장자에 따라 MIME 타입을 반환하도록 설정
        if ("jpg".equalsIgnoreCase(extension) || "jpeg".equalsIgnoreCase(extension)) {
            return MediaType.IMAGE_JPEG;
        } else if ("png".equalsIgnoreCase(extension)) {
            return MediaType.IMAGE_PNG;
        } else if ("gif".equalsIgnoreCase(extension)) {
            return MediaType.IMAGE_GIF;
        } else {
            // 다른 확장자의 이미지에 대한 처리 추가
            return MediaType.IMAGE_JPEG; // 기본값으로 설정
        }
    }
}
3) ImageService
@Service
public class ImageUploadService {
    @Value("${image.upload.directory}")
    private String uploadDirectory; // 이미지 업로드 디렉토리 설정

    public String uploadImage(MultipartFile image) throws IOException {
        // 이미지 업로드 처리
        String fileName = UUID.randomUUID().toString() + "-" + image.getOriginalFilename();
        String filePath = Paths.get(uploadDirectory, fileName).toString();
        Files.copy(image.getInputStream(), Paths.get(filePath), StandardCopyOption.REPLACE_EXISTING);

        // 이미지 URL 반환
        return "/images/upload/" + fileName;
    }
}
이미지를 로컬 파일 시스템에 업로드하고 해당 파일의 URL 주소를 생성하여 반환해준다.
동작 확인


이렇게 Base64를 Url 형태를 바꿔줄 수 있다.
'[WEB] > [React-Spring] TeamHs' 카테고리의 다른 글
| Swagger 사용해보기(java.lang.NoSuchMethodError: 'boolean io.swagger.v3.oas.models.media.Schema.getExampleSetFlag()해결) (0) | 2023.10.02 |
|---|---|
| 2023-08-31 (0) | 2023.08.31 |
| WEB : HTTP 상태코드 (0) | 2023.08.29 |
| <a> 태그 (0) | 2023.08.26 |
| React에서 css 적용하는 방법 (0) | 2023.08.26 |